 TL;DR: This blog introduces the Okto SDK, a comprehensive toolkit that simplifies Web3 development by abstracting blockchain complexities. You’ll learn how to get started with Okto SDKs, check out the different available SDKs, and set up your first project using it. By the end, you’ll be ready to build simple yet powerful Web3 applications with ease.
The world of Web3 is revolutionizing how we interact with the internet, bringing decentralized applications (dApps) that empower users like never before. However, despite its potential, developing on Web3 can be challenging because of the complexities of blockchain technology and unfamiliar protocols. But what if you could build Web3 applications as easily as traditional web apps?
Enter the Okto SDK — your gateway to easy Web3 development. Designed to abstract blockchain complexities, the Okto SDK enables you to create powerful and user-friendly applications without getting bogged down by technical challenges. In this blog, we’ll guide you through everything you need to know to get started with the Okto SDK and confidently begin your Web3 journey.
What is Okto SDK?
Before diving into the setup, let’s discuss what makes the Okto SDK a game-changer for developers.
The Okto SDK is a comprehensive toolkit that simplifies the development of Web3 applications. It provides a chain abstraction layer that allows you to build consumer apps in a way that feels familiar. By managing the complex blockchain interactions behind the scenes, the SDK lets you focus on delivering the seamless user experiences expected from modern web applications.
The Okto SDK makes blockchain development much easier by providing features like single function calls for any blockchain action, a unified portfolio across different ecosystems, and abstraction of chain, account, and gas details. This means you can focus on creating easy-to-use interfaces and fun features without needing to worry about the technical blockchain details. The SDK’s plug-and-play nature also makes it highly customizable, allowing you to adapt it to your specific project needs.
Ways to Build on Okto
Recognizing that developers have different preferences and project requirements, Okto offers several ways to integrate its powerful features into your applications.
- Okto React SDK: Ideal for building web applications using React.
- Okto React Native SDK: Perfect for creating mobile apps with React Native.
- Okto Flutter SDK: Designed for mobile developers working with Flutter/Dart.
- Unity SDK: Ideal for game developers using Unity for web/mobile/desktop/playstation games.
- Direct API Integration: For those who prefer to interact directly via APIs or working on any other platform not supported by the SDKs.
No matter your platform of choice, Okto ensures a smooth development experience across various technologies.
Prerequisites
Before you start building your app using Okto, there are a couple of things you need to set up.
1. Get Your Okto App Secret
The first step is to sign up on the Okto Dashboard to obtain your Okto App Secret. This key is crucial for authenticating your API requests. Make sure to keep it secure and never expose it publicly or include it in client-side code.
Steps to Get Your App Secret: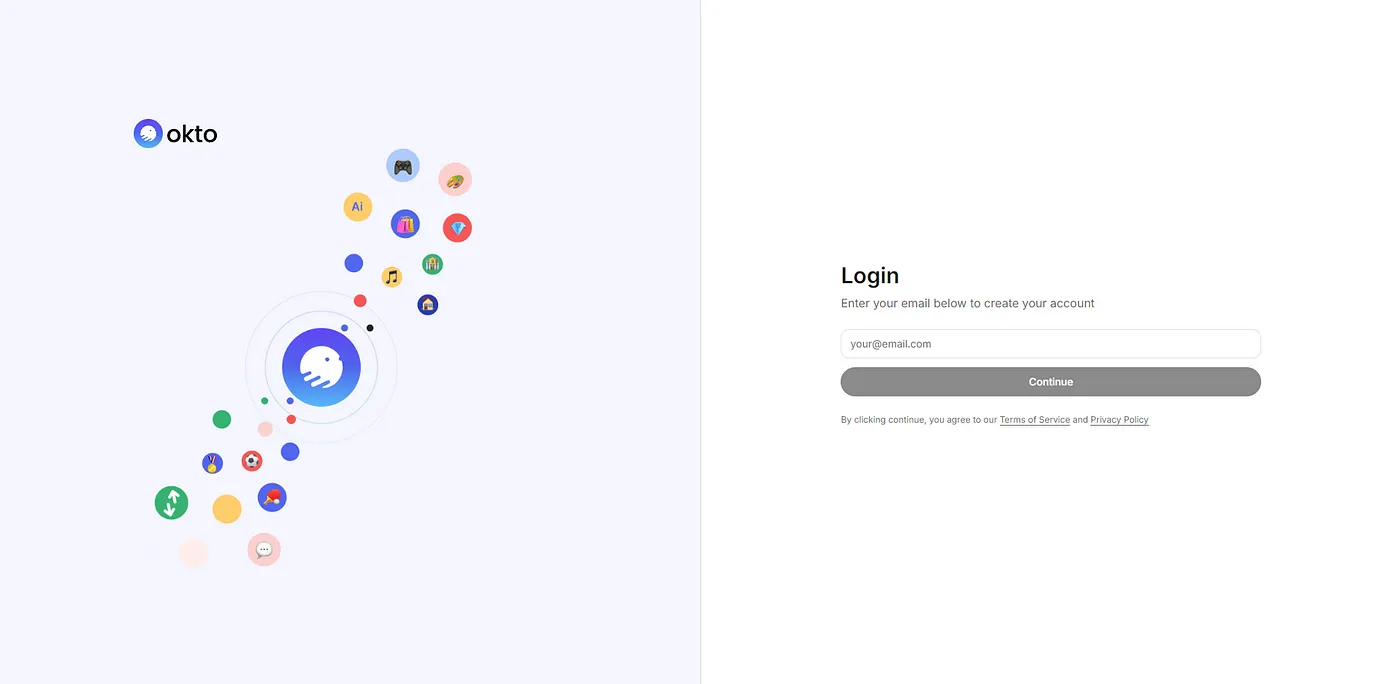
- Navigate to the Dashboard Login Page: Go to Okto Dashboard.
- Enter Your Email Address: Input your preferred email to log in.
- Verify Your Email: Enter the OTP you received in your inbox.
- Access Your Dashboard: Once verified, you’ll be logged into your new dashboard account.
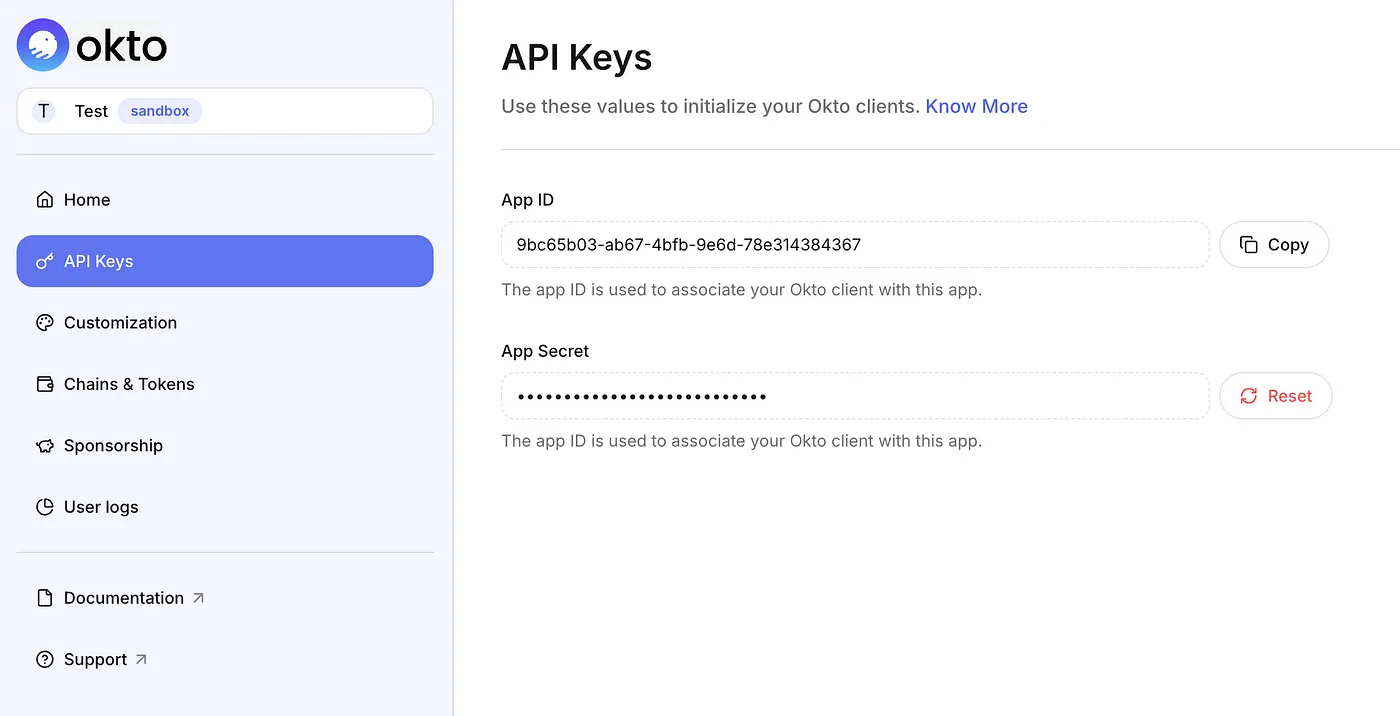
- Get Your App Secret: Navigate to the “API Keys” section and click on “Get App Secret.”
 Note:
The “App ID”, which is also revealed in the “API Keys” page, is different. It is a public unique ID, but the “App Secret” is the actual key you need to download and keep safe. You can use this key to access all SDK and client-side APIs.
Note:
The “App ID”, which is also revealed in the “API Keys” page, is different. It is a public unique ID, but the “App Secret” is the actual key you need to download and keep safe. You can use this key to access all SDK and client-side APIs.
2. Authentication Methods
User authentication is a vital component of any application. The Okto SDK supports multiple authentication methods to onboard users seamlessly.
Currently, Okto offers the following authentication options:
1. Google OAuth: To authenticate users via Google, you’ll need to set up a Google Console Project.
- Follow our Google OAuth2 Setup Guide to create a project in Google Cloud Console.
- Once configured, you’ll receive a Google Client ID that will be used in your application for secure authentication.
2. Email OTP: Okto allows users to log in using their email addresses with a secure One-Time Password (OTP). The SDK manages the process of generating, sending, and verifying OTPs, ensuring a smooth user experience.
3. Phone OTP: With phone OTP authentication, users can log in using their phone numbers with a secure One-Time Password (OTP). The SDK securely handles OTP generation, sending, and verification.
Okto also plans to support other methods like Apple ID, Telegram, and Farcaster in the future.
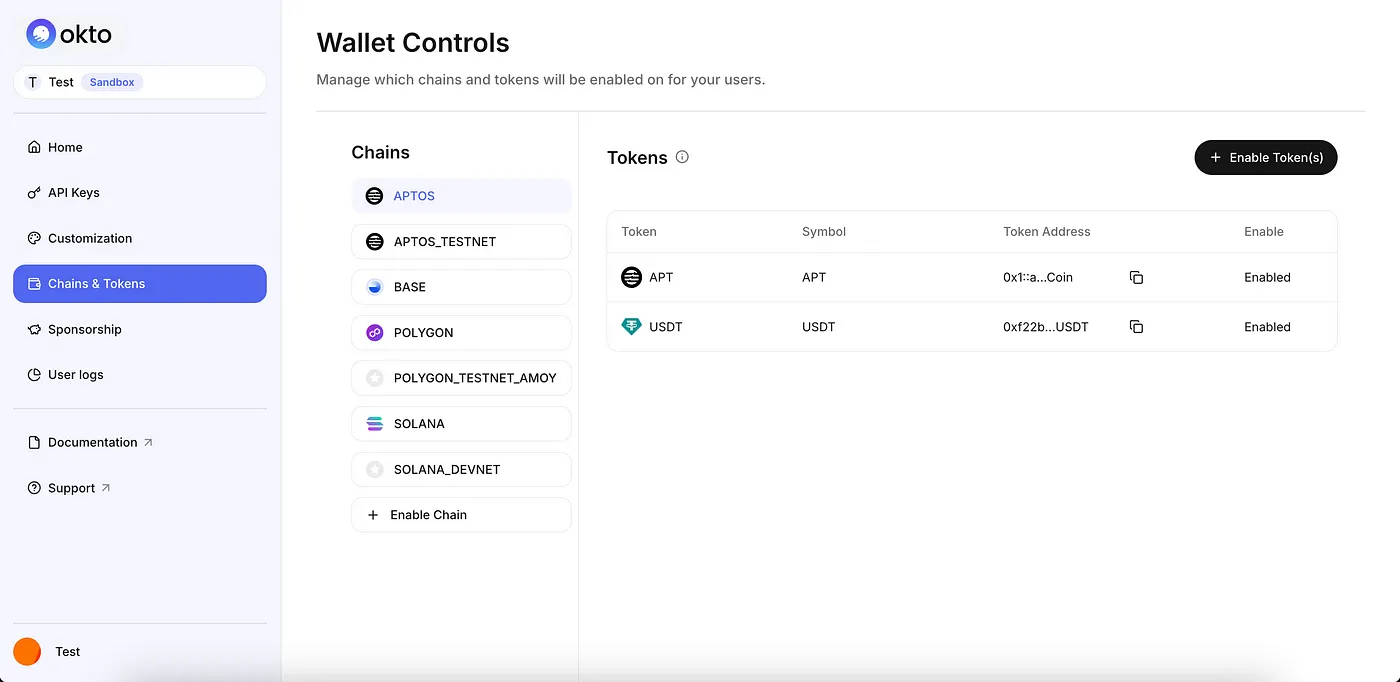
3. Enable Chains and Tokens
It is compulsory to enable chains and tokens on the Okto Dashboard. This step is necessary to ensure your application can interact with supported blockchain networks.
4. Optional: Enable Sponsorship
You may also choose to enable sponsorship, which is a feature that allows you to cover transaction fees (gas fees) for your users. This creates a smoother user experience by removing the need for users to hold native tokens for transaction fees.
Sponsorship integrates with Okto’s wallet infrastructure to automatically cover gas fees for transactions on supported chains. When a user initiates a transaction, the sponsorship system pays the required gas fee, allowing the transaction to proceed even if the user doesn’t have the native token for gas.
Note: For Solana chains like mainnet and devnet, account creation involves adding rent, so sponsorship is compulsory. If you enable the Solana chain, you must enable sponsorship and add funds to that chain.Available SDKs
Now that you’ve completed the prerequisites, let’s take a closer look at the SDKs Okto offers. Each SDK is designed to integrate seamlessly with your preferred development platform.
1. Okto React SDK
If you’re building a web application with React, the Okto React SDK is your go-to solution. It streamlines the integration of Web3 functionalities, allowing you to onboard users into the Web3 ecosystem effortlessly. With minimal setup, you can start providing users with a seamless Web3 experience.
- Learn More: Okto React SDK Overview
- Quick Start Guide: Get Started with Okto React SDK
2. Okto Flutter SDK
For developers using Flutter, the Okto Flutter SDK provides a straightforward way to add Web3 features to your app. It’s designed to minimize setup time so you can focus on delivering a smooth and engaging user experience, all while taking advantage of Flutter’s cross-platform capabilities.
- Learn More: Okto Flutter SDK Overview
- Quick Start Guide: Get Started with Okto Flutter SDK
3. Okto React Native SDK
Mobile app developers working with React Native will find the Okto React Native SDK invaluable. It simplifies the process of integrating Web3 functionalities into your mobile applications, providing users with a smooth Web3 journey from any device.
- Learn More: Okto React Native SDK Overview
- Quick Start Guide: Get Started with Okto React Native SDK
4. Okto Unity SDK
Game developers can now bring Web3 functionalities to their Unity projects with the Okto Unity SDK. Whether you’re developing games for web, mobile, or desktop, the Unity SDK allows you to integrate authentication, wallet management, token transfers, and NFT operations seamlessly and help you unlock blockchain-powered gaming experiences quickly and effectively.
- Learn More: Okto Unity SDK Overview
- Quick Start Guide: Get Started with Okto Unity SDK
Create Okto App
For an even faster start, Okto provides a pre-configured setup for React, Next.js, and React Native applications. This setup utilizes a CLI tool that scaffolds your project with all the essential configurations, saving you time and effort.
Here's How You Can Do It:
Step 1:Create a New Project Open your terminal and run the following command:
You’ll be prompted to choose a template and enter your project name:
After the setup is complete, navigate into your project directory and install dependencies:
Next, create a .env file in the root of your project with the following content:
Run the following command to start your app:
Your application should now be running at http://localhost:3000.
🎉 You’ve successfully set up a fully configured Okto-powered application! All the necessary components are in place, and you’re ready to start building amazing Web3 features.
Explore Showcase
One of the best ways to understand the potential of the Okto SDK is by seeing it in action. Many developers have already built innovative and exciting projects using Okto. From decentralized finance apps to interactive gaming experiences, the possibilities are endless.
Visit our Showcase Page to explore these projects. You’ll find a variety of applications that demonstrate the versatility and power of the Okto SDK. Not only can you see what others have created, but you might also find inspiration for your own projects.
The showcase highlights how Okto’s features can be applied across different industries and use cases. It’s a testament to what’s possible when complex blockchain technologies are made accessible.
Conclusion
Embracing Web3 development doesn’t have to be overwhelming. With the Okto SDK, you have a powerful and flexible toolkit designed to make your development process smooth and efficient. By abstracting away the complexities of blockchain interactions, Okto allows you to focus on what truly matters — creating exceptional user experiences.
Whether you’re building a simple dApp or a complex multi-chain application, the Okto SDK equips you with the tools you need. Its plug-and-play solutions, combined with customizable features, offer the perfect balance between simplicity and power.
To dive deeper into the implementation details and explore additional features, head over to the Official Okto Documentation.
Now is the perfect time to jump into Web3 development. With the Okto SDK, you can turn your innovative ideas into reality. Don’t let the complexities of blockchain technology hold you back — Start building with Okto today!
Happy Coding! 🚀